Hello Filmstylers,
a few Panasonic Camera users which wanted to load our LUTs inside their cameras for live previewing weren’t able to do so. We had a couple of trouble shooting tickets on this matter we came up with the solution. Panasonic supports 32bit versions for LUTs where all of our products are delivered for higher quality at 64bit.
A fast solution for you is to open the LUT in Photoshop in an empty document with a background layer, and re-export it as a 32bit .CUBE file when choosing the quality options. If for any reason this is not possible and the LUTs didn’t work for you, quickly send us a support email at info@andpfilmstyles.com and we will take care to do the conversion for you. Attaching your order(s) number(s) will be needed and we will send you the 32bit versions for the LUTs you already own.
In any case, coming next Friday, March 1st 2024, we scheduled to update all existing products to include both 32bit and 64bit versions for this reason.
Thank you and happy LUTing!
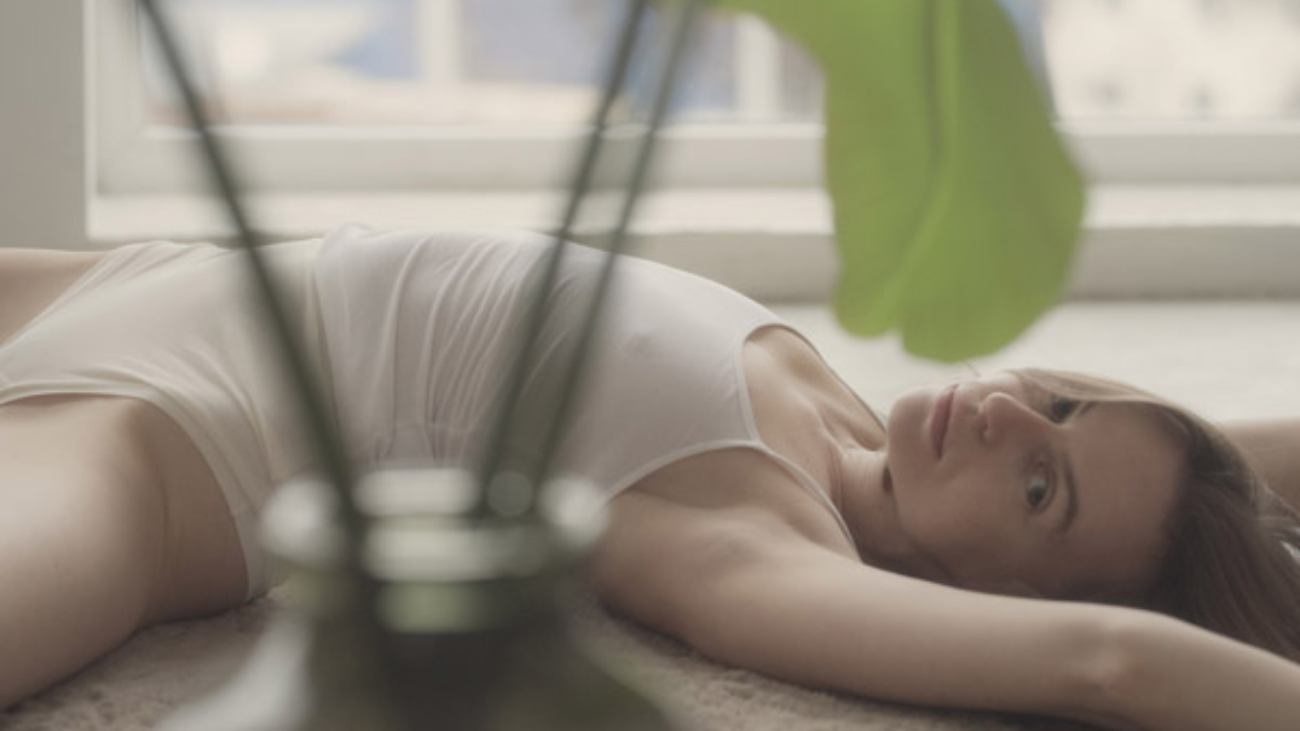
Feature showcase – Alina by thomasandp in ANDP Portra 160
This late November finds us in Kyiv, Ukraine. For those who don’t know my backstory, I used to live here and left in the first days of the 2022 war, and moved to my current base in the Netherlands. With the war ongoing, but not so close to Kyiv anymore, I paid a visit to my desolate home. Of course being in Kyiv once again, I wouldn’t miss the opportunity for some art making.
Being in wartime, I like that the images get an extra editorial value and are not solely just for my abstract sense of how I produce these portrait sets, and for no other reason other than themselves.
Except for the portrait part of a great model such as Alina, I also want to show the beauty of ANDP Portra 160, because the original palette of colors could compliment the use of that simulation. To further enhance the film simulation feel, I shot with my DIY haze filter to create a sense of glow in the images that would be against the light source, and to soften then light fall off from the edges of her body. This effect works well with ANDP Portra 160 because of how the LUT handles highlights and it’s inherent curve settings. Very satisfied with the result, I hope it’s as inspiring for you as it was for me.
You can follow us on social media: @thomasandp @kaya_noid and of course @andpfilmstyles
Grab the LUT here


How to prepare your images for a LUT based workflow.
Hi everyone!
Common Mistakes in Color Grading Presets
New colorists often fall into a common trap when creating presets. They meticulously adjust settings for a specific set of images, only to find that when applied to different sets, the color grade falls short. These unused presets end up cluttering their workspace, often named after the project and idea number, such as “colorado02grade.xmp.” This post aims to guide colorists away from this pitfall.
The Limitations of .XMP Files
The inherent limitation of .xmp files becomes apparent in grading. Instead, we advocate for using raw developers as intended, with the Lookup Table (LUT) as the true ink for color grading. Let’s delve into the practical steps.
Prepare Your Image for a LUT Workflow
- Download the Developer .XMP here.
- Alternatively, apply the following settings in Lr, ACR, or C1:
- Contrast: -15
- Highlights: -20
- Shadows: +15
- Whites: -20
- Blacks: +20
- Clarity: -15 (for a film simulation touch)
Ensure your exposure and white balance are neutral, tweaking as needed. Day or night, these settings apply universally, avoiding burned highlights or crushed shadows.
All of our LUTs were developed in sRGB color space, and for video the closest alternative is rec709. You can in theory use Adobe RGB, but it will not be 100% how we envisioned the LUT being used.
Applying the LUT
After applying the Developer .XMP, check exposure and white balance. In Photoshop, use the “Lookup Table” adjustment layer to load the .cube file for LUT application. For batch processing, record the action for efficient use with an image processor.
Fine-Tune Your Grade
Adjust the layer’s opacity to fine-tune the effect. Typically, our grades work best around 75% opacity. Experiment within the 35%-75% range for your specific image or set of images.
Experimenting with LUT Combinations
Explore unique styles by experimenting with multiple LUTs and blending modes. Feel free to explore the synergy between Provia in Luminosity mode and Portra in Color mode, approximating Fuji Pro 160 NS. Experimentation with combinations can lead to striking results, as exemplified by the Technicolor (not yet released) + Fuji Astia combination.
Conclusion
This post serves as a comprehensive guide, covering the pitfalls of preset creation, steps for LUT-based workflows, fine-tuning effects, and the power of experimentation. Stay tuned for more examples and a potential PDF tutorial integration into our products.
Thank you for reading, and share your results with us! 🎨✨